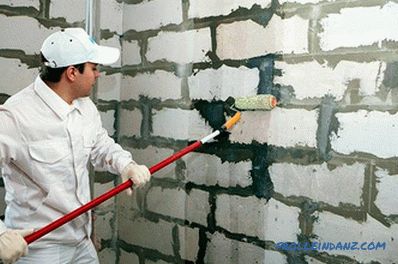
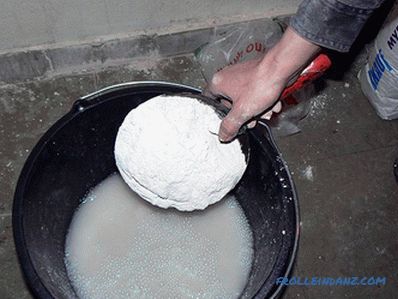
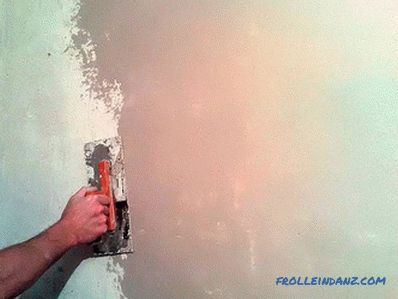
If you started a repair, then, most likely, you already know what you want to see in the final result. However, have you ever thought that by making repairs, you can save money at some construction stages? With all this, the quality of work will not suffer much. For example, with regard to the decoration of the walls, for many it is important that they be plastered exactly in level. Of course, it's great if you can invest in repairs. The task is especially simplified, if drywall is installed on the walls, then their verticality will not be in doubt. But not always there is such an opportunity. How to balance the desire to do smoothly and economically?
If we are talking about plaster, then the majority knows the technique by which beacons are fixed on the wall first of all and they are monitored for finishing. In this article we will explain how to conduct such work.
Plaster - what it is
By plaster is meant a mixture applied on the surface for leveling them. In this case, the plastered surfaces must be subject to their subsequent processing. This finish can be applied to the walls in one or more layers. The larger the filler, the thicker the layer can be applied.
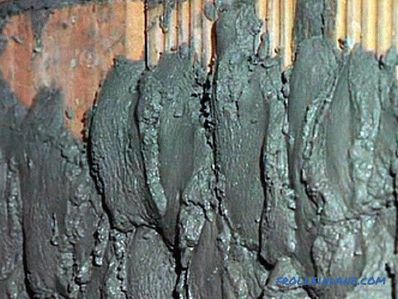 Applying plaster on the wall with an even layer
In the classic version, the plaster consists of these components:
- cement;
- sand;
- lime (not always);
- water.
This composition is important to use if you want to level the walls in large volumes. However, as practice shows, their use requires special skills and great labor costs. Considering this, a new technology was developed, according to which the finishing is performed with a special gypsum mixture.
Various manufacturers make ready-made dry mixes specifically designed for plaster. It is easy to apply such structure on a wall and level. The way speeds up the finishing work several times.
When plastering is possible without beacons
It’s worth to say right away that this type of finish has the effect of visual alignment. After the work, if you apply a rule to the wall, cracks and strong curvature will not be detected. If you use a laser level, then the situation will be different. However, given the savings, for the majority of domestic craftsmen, this leveling method is considered optimal.
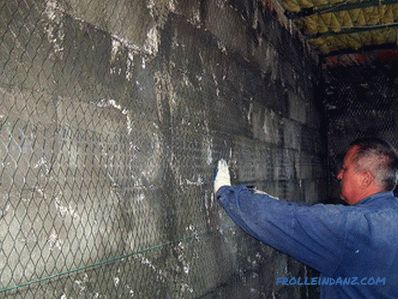 If the wall is level, then it is possible to do without beacons
So , visual alignment can be done in the following situations:
- the wall surface is relatively flat, but there are potholes, sinks and projections on it;
- the plane is even, but deviations in the corners are strongly visible;
- there are deviations in the junction to the floor or ceiling.
There are several positive aspects of this technology:
- time savings;
- cost savings;
- the ability to plaster with a thin layer;
- minimum solution consumption;
- no cracks due to the absence of beacons.
If you decide to abandon beacons, you can also refuse the services of specialist plasterers. Especially this technology is relevant for those rooms where ideal evenness is not required, for example, in a garage, outbuildings, etc. However, for the sake of objectivity, it is necessary to single out the main disadvantage of this technology - you cannot achieve a perfectly flat surface.
Types and selection of plaster
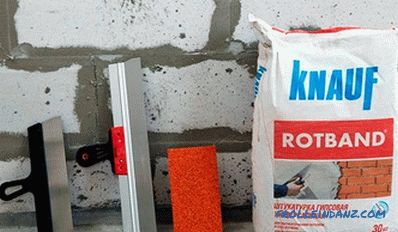 Rotband is often used for dry plaster
Although you can make the plaster yourself, there are quite a few ready-made dry mixes on the market today. They contain all the necessary components and binders. It is enough to mix the composition with water with a construction mixer, and the plaster is ready for use. When choosing, be sure to consider the following nuances:
- type of surface to be treated;
- room features: humidity level, temperature, etc.;
- are there any restrictions on terms of performance of work.
So, cement and gypsum dry mixes are known. Compare them with each other:
| Cement | Gypsum |
| The composition includes cement, fractional sand and other additives. | Used at optimum humidity. |
| Low cost. | It is possible to level with a thin layer. |
| The plastered surface acquires high strength, as a result, the coating will last more than one year. Even in conditions of high humidity. | Due to the plasticity, it is easy to apply the mixture evenly to the wall. |
| It is used to level large irregularities. It can be used for both exterior and interior work. | In a short time, the plaster seizes, allowing you to quickly proceed to the next stage of finishing. |
| Drying time is directly dependent on the temperature and degree of humidity in the room. | |
| After applying the plaster layer, its subsequent processing can be started no earlier than in 10 days. |
Video
Using a plaster mix to level the walls
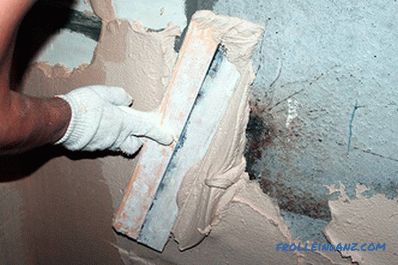 Plaster of walls with a plaster mix without beacons
As already mentioned, alignment of walls without beacons is possible, and in In this sense, ready-made plaster mix, which is sold in every hardware store, is excellent. Moreover, a level is not always necessary. For alignment, the main tool will be the rule.
When buying a finished plaster plaster, it is important to pay attention to how long it hardens. The more this indicator, the better. Especially if you are a novice master, it is important that the mixture does not harden quickly, otherwise you will have to knead in small portions or throw out the dried one.
If we talk about the advantages of gypsum plaster, here pay attention to the following:
- if you already have experience of use, then you can apply the finishing layer at a time;
- good adhesion with the surface;
- after the completion of work there is little waste;
- high performance and quickness of drying after its application;
- minimum thermal conductivity;
- fire-resistant material, this is explained by the presence of water molecules in the mixture. In case of fire, the molecules evaporate, which slows down the process of heating the wall;
- the plaster is predominantly white, which simplifies the following work steps;
- there is no negative harm to human health;
- is often used to decorative finishes;
- can be applied with a thickness of up to 6 cm without the use of reinforcing mesh.
With all the advantages, it is worth highlighting the negative aspects of this technology:
- as opposed to the cement composition can cost more;
- it is impossible to knead a large amount in one because the solution quickly sets;
- when working, it is important to protect the respiratory organs, especially during mixing.
Video
Consumption and technical characteristics of the mixtures "Prospectors", "Rotband" and "Volma-Layer"
Average consumption per 1 m 2 is about 8-9 kg, this is subject to the application of a layer up to 10 mm. The minimum deposition layer is from 5 mm, and the maximum can reach 50 mm. Now we offer you to compare among themselves the three most popular and common plaster mixes.
"Prospectors"
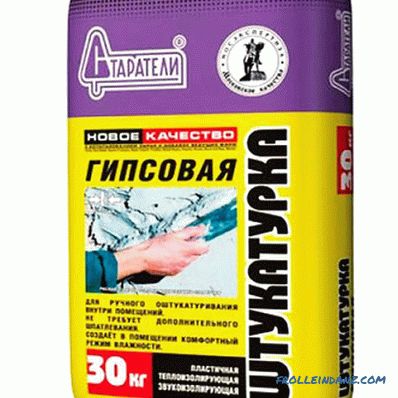 Gypsum plaster mix Prospectors
This mixture is packaged in bags of 30 kg each, therefore the table will give characteristics based on this indicator:
| Technical specifications | Size |
| Mixing ratio | On 30 kg an average of 20 liters of water |
| Hardening period | About 20 min |
| Minimum and maximum layer thickness | 5 to 50 mm |
| Layer thickness when leveling walls using glass mesh |
Up to 100 mm |
| Compressive strength | 2.5 MPa |
| Strength of adhesion | Not less than 0.5 MPa |
| Flow rate at a layer of 10 mm per m 2 | 8-9 kg |
| Color | Gray |
Plaster mix "miners" is used to treat surfaces made of brick, concrete, gas - and foam and others. After drying, the material is resistant to cracking, and also has high sound insulation properties. From the specified packing date, the shelf life in bags is six months.
"Rotband"
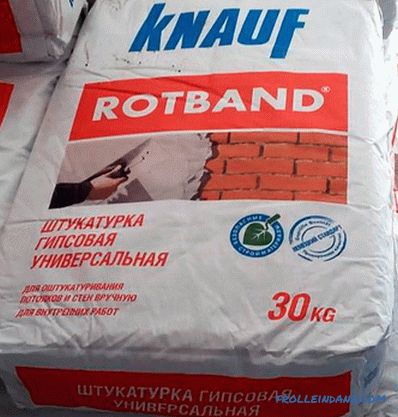 Gypsum plaster mix Rotband
Packaging material also comes in 30 kg bags.The table lists the main technical characteristics:
| Specifications | Size |
| Operating Temperature | +5 - + 30 ° С |
| Recommended layer thickness | 10 mm |
| Minimum layer | 5 mm |
| Maximum layer | 50 mm |
| Consumption with a thickness of 10 mm | 8.5 kg / m 2 |
| Drying time 10 mm | Up to 60 minutes |
| Density of the dried layer | 950 kg / m 3 |
| Compressive Strength | More than 2.5 MPa |
Later in the article, we will discuss with you the use of this mixture for plastering walls in more detail.
"Volma Layer"
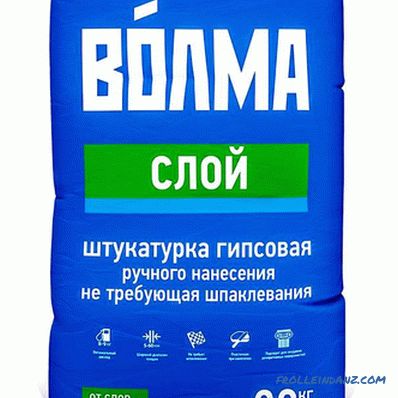 Gypsum Plaster mixture of Volma Stroy
This mixture has the following technical specifications:
| Specifications | Size |
| Compressive Strength | Not less than 3.5 MPa |
| Setting period after application | Up to 180 minutes |
| Full hardening time at a layer of 10 mm | 7 days |
| Maximum layer thickness | Up to 60 mm |
| Recommended thickness | Up to 30 mm |
| Consumption and a layer of 10 mm | Up to 9 kg / m 2 |
| Operating Air Temperature | +5 - + 30 ° С |
Plaster Rotband - features and technology of its application
The plaster mix KNAUF Rotband represents a product from the German producer. In comparison with similar formulations Rotband has a high cost, however, it fully justifies itself. It is considered the best in durability, quality and practicality.
Advantages of the Rotband
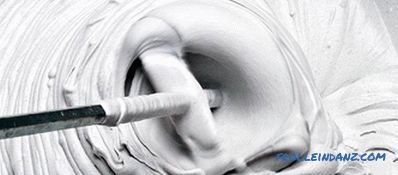 The Rotband plaster should be kneaded with a construction mixer to obtain a uniform mass
Above in the table we presented the main technical characteristics of this mixture. Now consider its positive aspects, which make it the best among all competitors:
- At one time, you can align walls with a layer up to 50 mm.
- During the drying process, no cracks or shrinkage are observed.
- The dried surface turns out to be quite smooth, which makes it possible not to process it with an additional finishing layer.
- During the drying process, there is no sudden loss of moisture, which contributes to a gradual and uniform solidification.
- Unlike other gypsum plaster mixes, the setting time after kneading is long.
- Differs in high adhesion.
- In contrast to cement formulations, the consumption is much lower.
- "Rotband" is characterized by vapor permeability, due to which the walls "breathe", and a comfortable microclimate is created indoors.
- There are no harmful compounds in the mixture that adversely affect human health.
Plus, it’s worth adding that the total weight of the Rotband plaster mix does not put a heavy load on the work surface. With some experience, you can even level the walls in one pass. If necessary, applying a thick layer additionally applied fiberglass, which prevents cracking.
Video
Plaster plaster technology
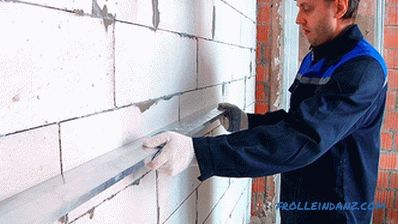 First of all, you should check the wall for evenness
First you should prepare the necessary building material and tools:
- wide and narrow spatulas;
- rule;
- plaster mix;
- cold water;
- drill;
- construction mixer;
- reinforcing mesh;
- mixing container.
All work on applying a gypsum mix without beacons consists of several stages:
- Preparation.
- Kneading the solution.
- Application.
Consider all these steps in sequence:
| Work Steps | Process Description |
| Preparation | First of all, surface preparation is carried out, namely the elimination of dust, dirt, grease stains, areas that crumble, and the like. If the wall absorbs moisture, then an important stage of preparation is priming. Related materials are recommended for this purpose, for example, Knauf Stuc-Primer. If the surface does not absorb much moisture, for example, it is concrete, then Knauf Betonokontakt primer will do. In this primer there is quartz sand, which gives the wall roughness and increases the quality of adhesion. Primer before plastering without beacons is imperative, otherwise the mixture simply will not hold. The next step is to start only after the ground is completely dry. |
| Kneading | Unlike the cement-sand mortar for plaster, gypsum is not worth kneading in large portions. It is explained by the minimum period of viability. The amount of batch should depend on your performance. For the first batch use about 10 kg and not more. You can see how much time you need to work out the batch and whether it can be increased. As for the proportions, look at the bag. Cold water is used for kneading. Mixing is necessarily carried out by a drill with a nozzle mixer. This will help to prepare a homogeneous mass. After mixing, leave the mixture for 5 minutes, and then re-mix and proceed to the next step. |
| Application | The application process is carried out with a wide trowel. The mixture is superimposed on the surface areas where irregularities are assumed. After being leveled by the rule. At the beginning of the work, it is recommended to stick metal corners on the outer corners. To install the required level. The corner is attached to the wall with plaster mix. After it hardens on it, you can fully extend the corner. One edge of the rule is applied to the corner to see what the gap is over the entire plane. All voids are gradually filled. If the layer thickness exceeds 50 mm, then the second layer should be applied after the first one has dried. Moreover, it is also recommended to use a reinforcing mesh. It will completely eliminate the appearance of microcracks, as well as give a large fortress to the plaster. Depending on such as subsequent finishing, additional finishing is carried out. For example, if the walls are planned to be painted, then they must be puttied with a finishing putty. |
Plastering with a cement-sand mixture
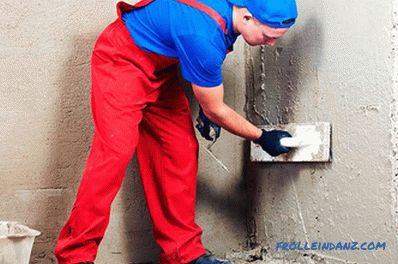 Plastering the walls with cement mortar requires certain skills
To perform the work, you need to prepare the following tool:
- 2 m rule;
- level;
- mortar mixing container;
- 2 buckets;
- plastering bucket;
- trowel;
- foam scraper.
Filler for cement mix
The plaster mix consists of several important components, which are presented in the following table:
| Filler and binder | Specifications |
| Sand | In most cases, river quartz sand is used. It does not contain unnecessary inclusions, which adversely affect the quality of the mixture. For example, mountain, ravine and sand sand is not suitable for plaster. If you need to process a concrete wall, That part of the sand (0.25 based on the total volume) should be replaced with ground quartz. Otherwise, there is a risk that the plaster will simply fall off the wall, even if there are nicks. |
| Clay | This material is used as a binder. It is used depending on the type of surface to be plastered, such as wood and so on. |
| Lime | It is a binding material. At the same time only hydrated lime is used. Lime milk, dough and fluff are also used. |
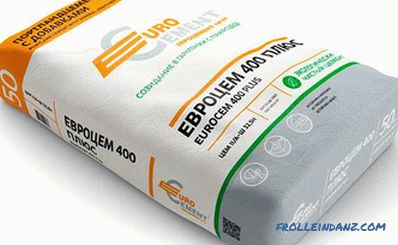
| Cement | Cement of grade 200 or 400 is mainly used. |
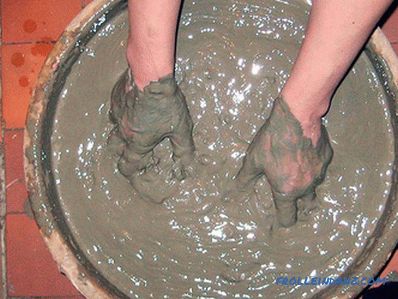
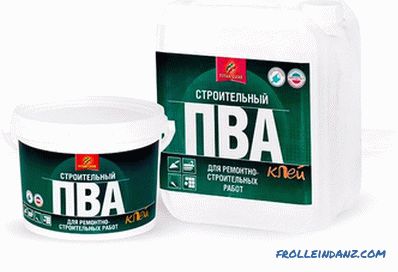
| PVA glue | Glue is used to impart a mixture of plasticity and greater strength. |
The "fatness" of components is an important aspect of the choice of fillers.Depending on the deposit, the fat content of lime and clay varies. This directly affects viscosity and adhesion.
Subtleties of work
It is important to do all the preparatory steps. At the same time, remember that doing a simple stool will not work. For work at height it will be convenient to use small forests. They can be made independently or simply rented.
As in the case of gypsum plaster, the wall must first be prepared. All exfoliated elements are removed from it, the surface must be primed. If cracks are detected, they should be precoated beforehand, especially when it comes to cracks of more than 2 cm. If the wall is concrete, notches must be made. This will increase the quality of the setting.
Video
Applying the first layer
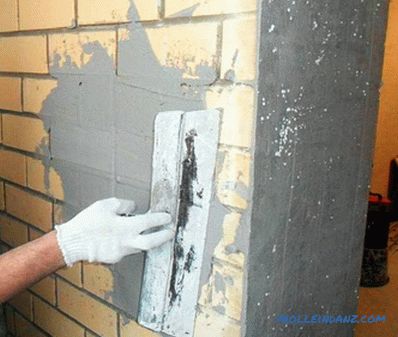 The first layer of plaster may have a small thickness
So, before applying the first layer, the wall must be moistened with water. Next, the mixture prepared with a construction bucket or trowel is piled over the area to be treated. For convenience, it is recommended to throw the solution in no more than 1 m 2 . After that, the construction grater is taken and the whole plane is leveled. Thus, the layer can reach 7 mm.
For grouting, it is best to use a grater with a length of 50 cm. Thanks to this, you can evenly distribute the layer of mortar on the wall. The job is not an easy float. She needs to drive from side to side. For example, movements can be from bottom to top, and vice versa. At one time it will not be possible to achieve a perfectly flat and smooth surface, so you shouldn’t stay long in a particular area.
Application of the second layer
The second layer of the solution is applied only when the first has dried. Preliminarily take a long rule and run it along the wall, you will be able to detect all the irregularities and surges. The sharp side of the rule removes all sags from the surface.
You can apply a second coat. Now you need to smooth the plaster better. In this case, the solution should not be thrown over, but it should be gently smoothed with a float. When you have processed the whole wall in this way, you can check it for evenness by applying a rule. Below it, you can see possible cavities or flows that need to be smoothed. If there are bumps, they should be removed with a float or the same rule. If there are cavities, the solution should be added to the required thickness. After all these actions, the wall surface should be practically free of defects.
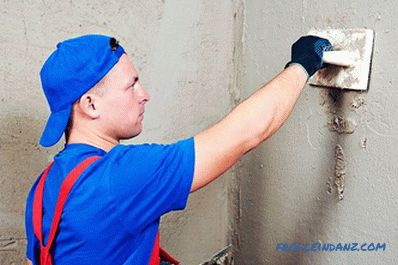 At the end of the plaster it is necessary to prepare the wall for grouting
Third layer - finishing
The last layer of plaster should be the thinnest. To do this, the solution should be made quite liquid. It is applied to the wall with a ladle from top to bottom. After applying the float in a circular motion, it should be leveled, rubbing it into the surface, figuratively speaking. As a result of these actions, the plane being machined will be smooth.
Upon completion, the result is checked for defects. For this, a rule is traditionally applied to the wall. Of course, this method of alignment will be relative.
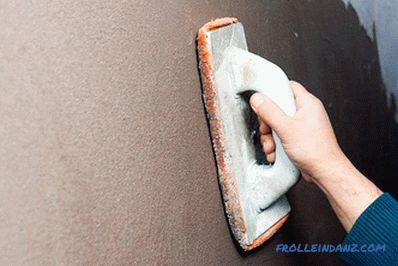 Walls must be tiled
So you learned how to level walls without using lighthouses. Although this job requires effort, you can save well as a result. Moreover, in this way you will be able to do the plaster in the outbuildings on your own without attracting craftsmen. If you know another technology and have practical experience in this business, then share comments at the end of this article.
Video
