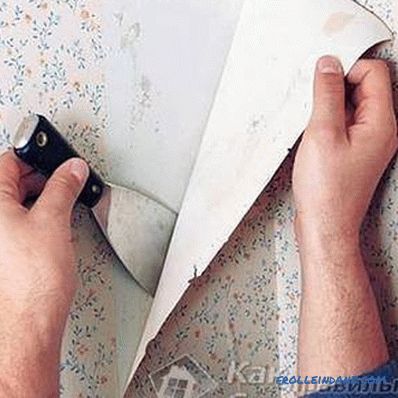
Many people were faced with the issue of lack of furniture in the apartment. However, not everyone has the opportunity to visit the furniture store and purchase or place an order for the manufacture of a new cabinet. For financially independent people this is a big money saving. Making a cabinet with your own hands is available to almost everyone. After carefully reading the instructions on how to make the cabinet with your own hands, it becomes possible to make the cabinet yourself.
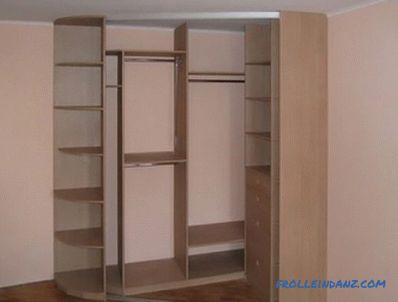
By assembling a cupboard with your own hands, you can save a fairly large amount of money.
Practically all furniture production can be divided into a number of stages.
- Initial.
- Manufacturing.
- Installation when furniture is built into a wall.
What works are performed at the initial stage?
First of all, you need to prepare the tool. These are:
The structure of a typical electric jigsaw.
- jigsaw;
- roulette (ruler);
- pencil (marker);
- screwdriver (you can use a screwdriver, but then there will be no possibility of drilling - you will have to look for a drill);
- key-ratchet;
- glue.
Also consider that at the very beginning of the work it is necessary to make a sketch or drawing of the planned product. Due to the fact that the cabinet should serve for many years, then its design must be treated with special care. First you need to determine where it will be located.
The next step is to calculate the dimensions. It is about the width, height and length of the cabinet. In addition, you need to determine the gap between the shelves, their number. During sizing, it is best to draw a drawing on an A4 paper draw paper; this will help you to see the future model more clearly.
Be sure to think about color. Today there are a huge number of different colors and shades. The most popular won "Oak" and "Alder". If the desired colors are not in the store, you can order the desired chipboard.
After determining the design and colors, you can start making the cabinet with your own hands.
Some features
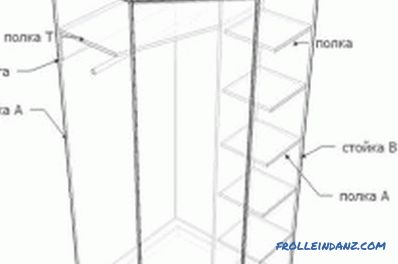
Diagram of a typical corner cabinet.
When designing furniture, it is necessary to divide the cabinet into several parts. So it will be better seen from what parts it will be assembled. For an experienced designer, such work will not be difficult, but if it still causes great difficulties, then such a drawing can be done with the help of a special computer program.
According to the finished drawings, you can start cutting parts. Such work can, of course, be performed independently, but it is much better to turn to professionals. This is due to the fact that such sawing is a difficult thing, it is quite difficult to obtain exact dimensions and good quality. A sawing machine is expensive, and for making a cabinet it is simply pointless to purchase it. Of course, you can use a jigsaw at home, but after it chips are formed. You can saw chipboard and get the corresponding parts where chipboard is sold.
Fittings are required for the cabinet parts. Before you buy it, you need to determine how the doors will open. Opening mechanisms today are known very much. For example, opening in different directions, movement on the coupe principle, opening upwards and so on.
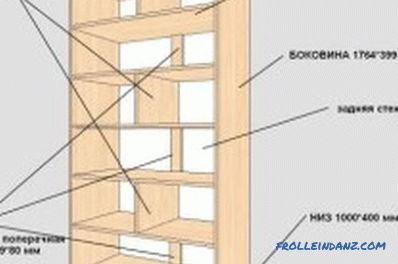
Scheme of an ordinary cabinet.
Whatever it is, but if there are uneven floors in the room, cracks will necessarily appear between the cabinet doors. They can be removed when adjusting installation canopies intended for ordinary doors, or by selecting the height of the wheels, which are used for the wardrobe.
Depending on the number of parts, you can accurately determine the required number of confirmats. They help to assemble the walls and various partitions of the cabinet. By the number of confirmatics, the number of rivets required for guides is determined, how many shelf holders are needed. In addition, the dimensions of the chipboard edge are determined.
For confirmatories, holes are made with a certain drill diameter. The location of the holes should be kept strictly symmetrical. The appearance of the assembled cabinet depends on it.
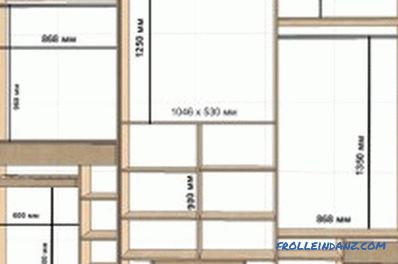
The wardrobe layout.
With a screwdriver, directly onto the confirmatics, the cabinet frame is attached. The standard door system is reinforced with awnings, guides are screwed for the closet mechanism. The marking of holes in the locations of the shelves is made, for fixing the shelf holders, the places for guides are marked. Such an operation must be performed very precisely, otherwise the shelves will be installed crooked.
Guides should have strict parallelism. After making the markup, you need to drill holes and fix the guides.
Manufacturing of parts
All work begins with a section of sheets of chipboard. It is necessary to cut the sheets into the necessary elements. When dimensions are set at design time, the width of the saw itself is usually taken into account (usually it is 3 mm).If you ignore this additive, then the details will have a smaller size.
You can cut a sheet, as mentioned above, in a special workshop. Chipboard will be cut very accurately, the edges will be free from scoring. To obtain such quality at home using hand tools is quite difficult. But this is your choice and experience.
Splicing of parts
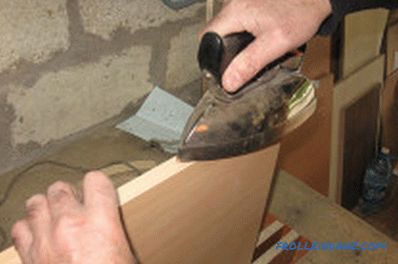
Splicing of parts can be done with a conventional iron
After cutting the sheet, the edge is cut. This term refers to ordinary PVC tape (2 mm). Very thin tape, whose thickness is less than 1 mm, is used mainly for finishing invisible edges, all visible is closed first.
Edges in living conditions are very convenient to glue with a heavy iron, heating it to the desired temperature. It is selected depending on the material used. This preparatory work ends, it remains only to assemble the cabinet with their own hands.
Assembling the cabinet with your own hands
Pre-mark the holes where the fixing screws will be inserted. This work needs to be done very accurately. The fact is that the attachment of confirmats is often performed to the ends. In this regard, the hole should be strictly in the middle.
Pre-install to the desired location on the bottom of the product, then install the walls themselves. Thus, the correctness of the dimensions is determined.
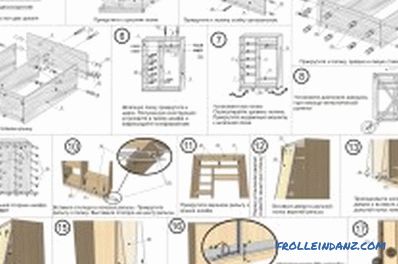
Assembling the wardrobe with your own hands.
Holes are made for mounting the base in the central partition. Then mount. The side walls are connected to the bottom using the same confirmatics. The edges are covered with a special waterproof profile to protect parts that touch the floor from water.
In the next step, the upper shelves are mounted. Thus, the framework receives additional spatial rigidity. It becomes even stronger after mounting the back wall.
Install the roof of the cabinet. If the height of the product is quite high, leave a gap (usually 7 cm) between the ceiling and the roof. This is necessary for mounting fixing confirmatics.
To fasten the cover, it is impossible to use a screwdriver. The fastener has to be nailed manually, and then the final tightening is performed with the key "ratchet with head".
Fastening of the side shelves is done with the help of 4 confirmatics (2 pcs. On each side). However, the side shelf, which is flush with the bottom, cannot be fixed with the use of confirmants. For this you will need dowels - small wooden cylinders. They are inserted into recesses made on the wall, then inserted into the holes in the shelf.
If a wardrobe is going to be assembled, then you need to take special responsibility for the door opening mechanism.
Its proper installation is the future appearance and beauty of the product as a whole. This part of the work must be done with great precision and accuracy, otherwise the cabinet will lose its appeal.
Additional recommendations
Assembly work begins with the installation of the rear door. First, with the help of a level, the correct installation of the cabinet is checked. Then mount the supports of both profiles.
Before installing the mirror, you need to install pieces of the seal around the perimeter. They should be evenly distributed over the entire length of the profile.
When inserts from chipboard are installed, there is no need to install a seal.
The inserts must protrude beyond the profile, the protrusion must be the same size. When the door is mounted, the inserts are placed on the foam, be sure to face up to avoid scratches.
The mirror is mounted in fixed horizontal profiles. When installing 2 mirrors, the seal should be on both sides of the dividing profile.
The assembly of the universal door is carried out with the use of dividing profiles. Before fixing the main vertical profile, you need to install a seal in the connecting points.
The main profile must be attached to the door on both sides. And one element is mounted strictly horizontally. The other can be mounted if the cabinet has vertical doors. It is imperative to ensure that the profile is installed with the front surface facing out.
A profile handle is mounted on the cabinet door. At the same time the bend of the handle should look to the outside. It is necessary to check how tight the profile joints are to each other. If necessary, you need to align the connection along the entire length.
Everything is quite simple. Good luck with your work!
