Today, wooden structures are becoming more and more popular, which is explained by the fact that such houses are environmentally friendly and warm. The walls are able to remove excessive moisture from the premises, creating a comfortable microclimate. The life of such houses may exceed 100 years. However, it is worth considering that wood cannot withstand the effects of fire, the processes of decay and the multiplication of insects. For this reason, the wood should be treated with protective compounds that prevent the penetration of moisture into the thickness of the walls before laying into the walls, and those that are able to protect the building from fire should be used.
")
The construction scheme of a wooden house.
Among other things, wooden walls are subject to significant shrinkage, this indicates that the finishing works should be started only after complete shrinkage, which will take about a year. If wood with high humidity was chosen for construction, it may become cracked during the drying process, which is why, when buying, you need to choose raw materials that have an optimum moisture level and are dried under the right conditions.
Tools and materials:
- sand;
- self-tapping screws;
- board;
- fishing line;
- reinforcement;
- construction stapler;
- asgamin;
- brick break;
- trowel;
- cant.
Installation of the tape base
")
Tools for the construction of wooden buildings.
Wooden buildings have a low weight, therefore, they require the construction of a non-buried foundation. For wooden construction is recommended to bookmark the strip foundation.
The commencement of work should be carried out after marking the area for the future foundation. For this you should use fishing line and fittings. As soon as the perimeter is marked, you need to drive a reinforcement through its corners. Before stringing the line, it is necessary to analyze the correctness of the angles, for which it is necessary to measure the diagonals, which should be the same. If necessary, you can move the corners until the diagonals match. Then you can pull the line.
The inner boundary of the foundation can be obtained by departing from the outer 40 cm. The trench for the foundation must have a depth of 55 cm, and the bottom must be flat. It is to be covered with a sand pillow, to compact the resulting layer by pouring water over it.
Next, you can proceed to the arrangement of the formwork, for which you can apply an edging board with dimensions equal to 150x25 mm. After the board has been removed from the concrete, it can be used in the process of installing rough floors or batten systems. Knocking shields for formwork, you need to try to nail heads were on its inner side, and outside the fasteners need to bend. In the area of the ends of the shields should be strengthened with screws and install struts.
")
Ribbon Base Pattern.
The construction stapler allows you to install asphalt to the inner sides of the formwork. The bottom of the pit, in addition to sand, must also be covered with a brick battle, which will act as a support for the bars of the reinforcement. With indentation from the inner borders of the formwork, the reinforcement grid should be laid.
Bars should be long enough. Using the knitting wire, it is necessary to fix the horizontal jumpers in 40 cm steps. After that, in the cells formed at the corners, horizontal and vertical rods will be strengthened. Now you can begin to mount the transverse rods. Joints are preferable to perform knitting wire. The base should be equipped with ventilation holes that can be equipped with an asbestos-cement pipe, the diameter of which is 10 cm, it should be strengthened to the valve, having been installed at the same level with the formwork. Wire can be used for fastening.
When constructing the basement, we should not forget about the water supply system, as well as sewage and electrical wiring.
Special holes should be installed for them, through which it will then be possible to withdraw the pipes. Before you start pouring concrete you need to install all communications. In the process of pouring it is necessary to tamp the mixture as often as possible, which will prevent the formation of air bubbles. Then the mixture should be leveled by means of a trowel or one and a half. After the construction of the foundation should not be in a hurry with the beginning of the construction of walls, you need to leave the finished foundation for a few weeks.
Construction of walls
")
The plan for cutting wooden walls.
The erection of the walls should be started by laying a crown, which is a series of logs mounted along the perimeter, while the frame is the other rows of walls. Each log has a special groove, which acts as a lock for connecting bars. Insulating material is often laid in the grooves.
Wooden buildings before the start of the final assembly are mounted without using insulation.The material should be left in this state for 6 months, during this period the material will settle and dry out. After this period, the material can be numbered and disassembled to be mounted permanently on the ground.
The cutting of walls can be done in several ways. If it is intended to build a beautiful house of wood with their own hands using round logs, the “into a cup” method should be used. This technology assumes the arrangement of the distance from the end of the log to the end of the bowl of 30 cm, which will cause a loss of 0.5 m of material on the two joints.
If there is a desire to use a less costly method, then it is worth using a cutting "in the paw". This technique provides a stronger connection, and the log remains inside the house. For the construction of a summer house, you can use a timber whose width is 15 cm. However, for a house in which you intend to live permanently, you need to use a timber whose thickness is equal to 20 cm or more.
Technology of installing roofs on wooden buildings
Gable and gable roofs are most often used in the construction of wooden houses. The gable variant is the simplest and assumes the presence of an attic. The gable roofing system has rafter legs, a ridge board, a batten, as well as a topcoat. As soon as the truss legs are installed, you can proceed to the installation of the batten, for which you should use a 50x50 mm bar, it needs to be strengthened with nails, having first been installed across the truss legs. After you can strengthen the finish coating to the batten system.
A wooden house or other building is much easier to erect compared to a building made from any other material, but this does not exclude the need to strictly follow the technology in the process of work and carefully choose materials.
Didn't find the answer in the article? More information on the topic:
-
")
Nuances of leveling chipboard
Leveling the floor chipboard plates accompanied by a number of activities. Preparatory work, installing lathing, mounting chipboard. Practical recommendations.
-
")
How to make yourself a log house for a well
Instructions: how to make a log house for the well. The stages of the installation of the well do it yourself. What is required for work. The advantages of wooden logs over wells or concrete rings.
Search
Related Articles
Decorating the arch with your own hands - decorating the arch in the apartment
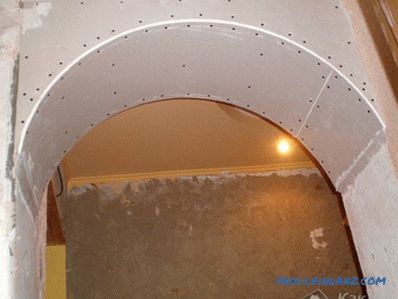
Doorways are a necessary element in each room, but, despite the standards (rectangular shape), many quite often choose another option - the arch. For its creation it is necessary to use the usual re...
How to hide the wires in the apartment
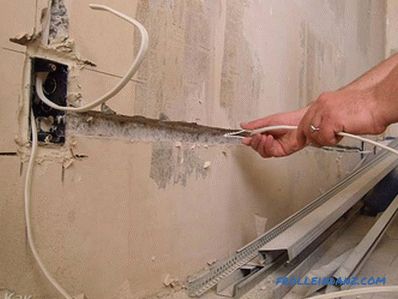
Absolutely ugly, when after repairing the premises of the wire are not hidden in the wall, but lie randomly on the floor or hang on the wall. They not only spoil the overall picture of the room, but...
Photos of living room interiors in the apartment

The city apartments of the old building did not differ by a large area, but there was a room in them, which the owners called the hall with some note of pride in their voices. Usually this room was...
Sewerage country house with their own hands

Any suburban economy, which includes a dwelling house, a bathhouse, and other ancillary structures, cannot do today without a properly equipped sewage system designed for the discharge and disposal...
OSB stove - harmful to health and environmental friendliness
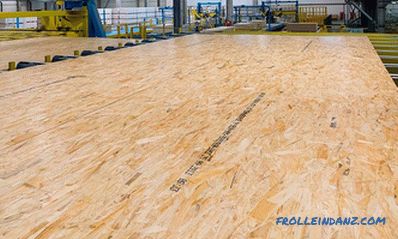
Oriented particle boards (abbreviated as OSB, although not less often, if not more often, OSB is used - the transcription of the English abbreviation OSB - Oriented Strand Board) is increasingly pus...