An old table in a house is more than just an element of furniture. In a sense, this is a story, the memory of ancestors, a symbol of the long-term stability of the home.
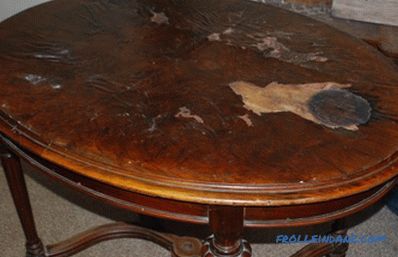
The old table can be restored by giving it a second life, and by saving yourself a lot of money to buy a new table.
The ideal ratio between careful attention to the history of its own kind and the needs of everyday household comfort provides the restoration of the table with your own hands. Indeed, there is no need to hurry to throw away the old table found in the attic - a good repair can breathe a second life into a dilapidated item, saving its owner’s money for purchasing new furniture.
Perhaps such a repair will also provide new aesthetic sensations at the sight of unusual shapes and silhouettes, please with the pleasant warm texture of solid wood, cleaned of dirt and layers of outdated finishes.
But before proceeding to the description of the course of restoration work, let us see how you can perform them in the most qualitative way.
Materials and tools needed for the restoration of
For the restoration and renovation of the old table with your own hands, it is recommended to stock up on tools and materials from the following list:
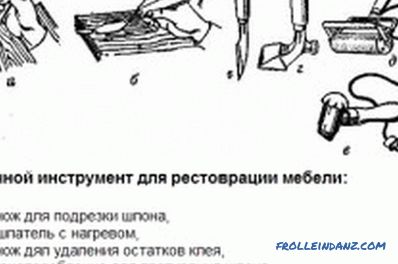
Hand tools for restoration.
- electric drill, drill bits for wood;
- chisel set;
- face planer;
- hammer;
- nail puller;
- screwdrivers (flat and cross);
- clamps;
- jigsaw (manual or electric);
- pliers and round nose pliers;
- hacksaws (for wood and metal);
- mounting knife;
- set of files;
- measuring tools (ruler, square, tape measure);
- felt polish;
- brush set;
- wood glue;
- acrylic lacquer, wood stain.
Wooden Table Restoration: the order of operations performed
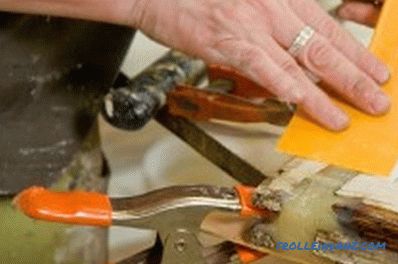
Restoration begins with the removal of old varnish and paint.
Before embarking on this plan, it is necessary to carefully examine the entire table and its most hidden corners and crevices. This is done in order to properly assess the overall technical condition of the subject and plan the total amount of work.
Virtually any cardinal table restoration begins with disassembling it. As a rule, the older the subject, the more its details require serious instrumental intervention. In some cases (if, for example, the tabletop due to very prolonged use is seriously warped), it is simply pointless to expose certain parts to restoration - it will turn out too expensive and inefficient.
Then it is better to either independently manufacture the product that finally failed, or to order the part from an outside professional. If damage from time to time and from inadequate storage were not so destructive, then the old structure should be carefully strengthened. This means, in particular, that the existing not very strong connections must be tightened, and strongly loosened joints should be disassembled, then cleaned and re-twisted or glued.
It is noticed that in furniture one of the most affected components over time is paintwork.
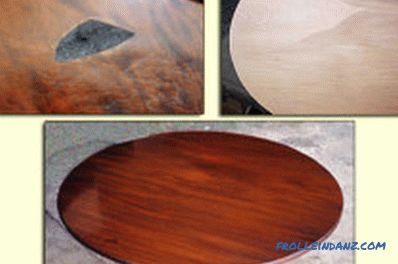
The lacquer is stripped from the table to its very foundation.
Therefore, often when starting to update an old wooden table, you have to deal with removing old paint (which may be laid in several layers) from table surfaces.
If there are too thick coatings or large areas of a damaged surface, it is recommended to use a drill with a metal brush or a grinder to remove paint. After complete removal of the old paint is carried out the next stage of preparation.
It consists in degreasing the cleaned surface. This can be done by carefully wiping the wooden parts with a soft cloth soaked in special solvents suitable for this coating with alcohol or acetone. In parallel with sandpaper or grinder, clear defects are sanded.
However, old injuries (potholes, scratches, chips, etc.) cannot always be removed by grinding. High-quality restoration involves the mandatory plastering of the surfaces of the old table. At the same time, we must not forget that after the putty has completely dried, all the surfaces to be treated need to be stitched again well.
If it is possible, it is desirable to carry out the processing of old wooden parts separately, first carefully separating the tabletop and the underframe. Sand the tabletop again, then paint it with a suitable paint for furniture and cover with 2-3 layers of colorless varnish. This operation is performed without haste, with keeping each layer of paint and varnish until they are completely dry.
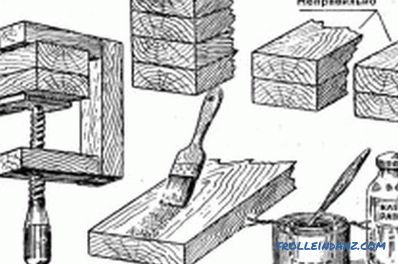
in the presence of faults, these places are glued and tightly pressed to each other clamp.
Another part of the table - the underframe - often requires even more attention than the tabletop. After years of operation, it may have cracks in the details and serious faults. If the owner of such a rarity nevertheless decides to restore it, then he should first detach the legs from the underframe with the help of appropriate tools.
Fault points need to be glued to further join the loose parts. Then, using clamps, these parts are tightly pressed to each other. Sometimes, for better tightening of cracked parts to each other, you can use self-tapping screws, which are very handy in inconvenient places where it is difficult or impossible to install a clamp.
After the glue dries (after about 12-15 hours), the screws are removed from the wooden elements of the table. The table top and underframe are connected to each other, either with glue or with a removable connection, which will be very useful in small apartments.
Restoration of the table ends with varnishing of wood details. But before that they need to open the stain. To avoid the occurrence of drips, do it better with a piece of soft foam rubber. After drying the wood stains, the wooden surfaces of the table are primed with a clear lacquer (primer) and lightly treated with a thin sandpaper.
How can “specialized” tables be restored?
When updating tables, you should always take into account their purpose and place in the future:
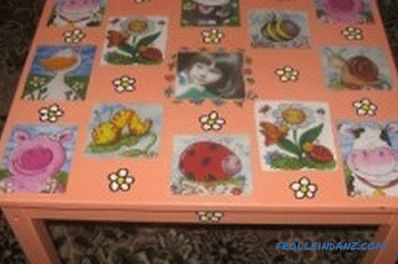
The table for the nursery can be decorated with photographs and drawings.
- Table for the nursery. It is recommended after stripping the tabletop from old paint and sanding to paste on its surface cuttings from bright glossy magazines or children's pictures. Then all this is covered with 4 layers of acrylic lacquer.
- Restoration of the dressing table. An original solution can serve as an alteration of the old table for toiletries under the sink stand. In the middle of the table, a hole is cut so large that a sink can fit into it, but without significant projections above the surface of the table. Ceramic tiles can be glued to the remaining space on the tabletop.
- Kitchen table. You can paint the old piece of furniture with some bright paint. A film is glued to a painted tabletop, which, for example, imitates beautiful lace. However, the film can not stick to the tabletop, and attach the bottom with special brackets.
- Updating the desk. You can cover the old countertop with any wallpaper with a spectacular print. To give the furniture freshness and solidity, wallpapers that imitate the texture of wood of any valuable species are well suited. To give the composition a feeling of wholeness and completeness, the legs of the table can be varnished in woody tones.
- Coffee table. With this option it will be good to blend bright pattern with geometric elements. The background for him is better to choose some dim paint, which is recommended to be applied to the countertop spray gun. The geometric pattern is applied to the dried painted surface with a brush or a special masking tape. Fragments between stripes can be filled with colors of bright colors.
Some useful tips for high-quality restoration
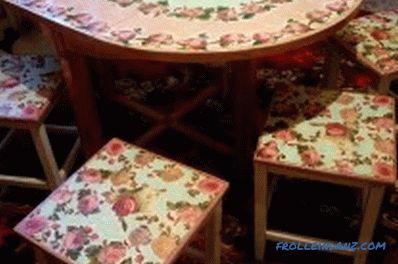
The kitchen table can be decorated using decoupage technique.
If the table legs are disconnected from the base, you should mark in advance exactly where the specific leg was. Install each leg should be in the place where it was before the repair.
When covering the table with a white primer, you must be prepared for the fact that almost all defects will be visible on its surfaces.
In order to ensure maximum strength for furniture surfaces, the lacquer coating should consist of at least 3 layers made with a paint roller, 5 layers with a spray gun and 10 layers with a cotton swab.
The wooden worktop should be ground along wood fibers. If you do it across the fibers, there will be noticeable small risks on the tabletop.
While taking up the restoration of old furniture with your own hands, it is worth considering that this process is not only an opportunity to save money, but also a great chance to reveal your talent as a master of home design.
Didn't find the answer in the article? More information on the topic:
-
Quality furniture from shields with your own hands
Furniture from the boards with their own hands. Preparatory work. Full production of a bed from the first to the last step. The time after which you can begin operation.
