It is pleasant to relax on a warm summer evening sitting on a bench, admiring the beauty of a blooming, well-kept garden. Of course, the easiest way, without bothering, to buy a shop. But it is much more pleasant to relax on the bench, made with his own hands. You will have to spend two - three evenings on its construction, but you will enjoy the work of your hands more than one year. This will be your favorite place at any time of the day, as even in the afternoon heat one of its parts will remain in the shade. And the branches of a spreading tree will give a pleasant feeling of security and comfort.
In this article we will explain how to make a bench around a tree with your own hands, give drawings, photos and video instructions.
There are many variations and styles of benches: from deliberately coarse to skillfully made, with a bunch of fine details; from the most ordinary to very non-standard and original. For the construction of shops use different materials: wood, plastic, wrought iron, stone, marble and even glass. Also the combined benches look great. The most common material for the construction of the bench is, of course, wood. It is one of the warmest and easiest to process materials. Also, wooden furniture looks very aesthetically pleasing. And the eye pleases, and it's nice to sit down.
Choose the appropriate tree in the garden
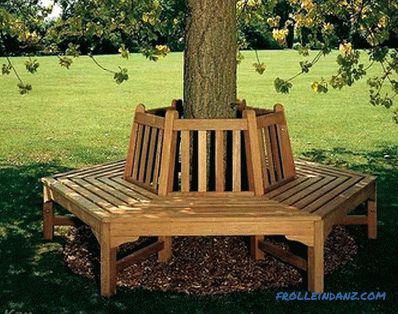 Choose the appropriate tree
Defining the location of the round benches, we do not recommend installing it around a young tree, as it may look a little ridiculous, especially the tree grows quickly and over time the shop will crowd it.
The thicker the tree, the prettier the round bench around it will look. It is also not advisable to stop at a fruit tree, since in summer or autumn it will be necessary to clear the bench from fallen fruits quite often.
It is so pleasant to lean into the bark of an old tree, enjoying the rustling of leaves. Here you can sit alone, reading your favorite book, or spend unforgettable fun hours in the company of best friends.
We select and process wood
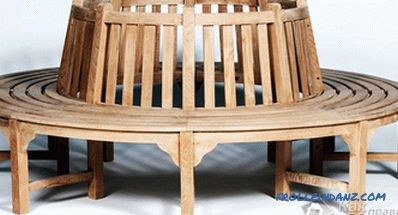 Bench around the tree
Because the bench that you are going to make it, it will be located under the open sky, it will be exposed to the biological effects of the environment. Therefore, you should choose the right tree species. Ideal: oak, larch, pine, teak and other materials resistant to biological and mechanical stress. In extreme cases, you can take any wood species remaining after making something. But if it is not very resistant to moisture and fungi, you should carefully treat it with special impregnations.
All details of the future bench should be pre-sanded and treated with some antiseptic solution, wood impregnation or special oil. Especially it is necessary to pay attention to the front side of the boards (cross section), since they absorb moisture the most. This is especially true of the lower part of the legs of the bench. They will come into contact with the soil, which will have a destructive effect on the wood. You can even put some litter. After processing, the material should dry for at least 12-18 hours (depending on the type of impregnation and wood species).
Preparatory work
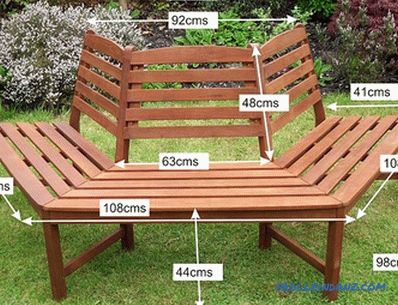 Dimensions
For the bench to stand exactly, you need to level the area around the tree. Remove the excess land, and where you need to - get some sleep. Try not to damage the roots of the tree. For the same reason, it is not recommended to concrete the legs of the future bench by digging holes in the ground. If possible and desired, the area where the bench will be located can be poured with fine gravel or gravel.
So let's move on to the most interesting. This article provides several options for ring benches. But for a start, let us consider how to make the simplest bench to make around a tree - a quadrangular.
Square shop
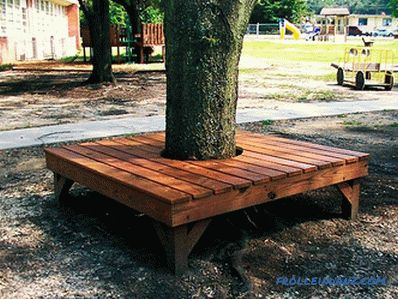 Square shop around the tree
In preparation, it is important pay special attention to the selection of the necessary building material and tools. You will need:
Tools:
- screwdriver (or drill);
- jigsaw, circular saw or a regular hacksaw;
- grinding machine or emery paper.
Materials:
- impregnations for wood processing ;
- 16 boards 10 * 5 cm: about 8 m (for supporting
- 16 boards 10 * 2.5 cm: about 23 m;
- bolts or screws;
- paint or varnish for finishing the bench (optional).
There are standard sizes for the bench:
- The seat height is 40-45 cm (with the legs comfortably resting in the ground);
- Seat surface width: 45-50 cm.
The bench should not damage the trunk of the tree, so it is advisable, when building it, to leave a small distance from the crown (10-15 cm).In order to make the product even, first of all it is necessary to designate 4 internal points of support and 4 external points around the tree on the ground.
We make support stands, of which there will be four. Each of them will need 4 boards, 10 cm wide, 60 cm long, 50 cm long and 2 pieces of 40 cm each. They need to be bolted or self-tapping, as shown in the diagram. If you don’t like these base legs, you can use the benches of this article described in the third version - with the back. Install support posts at pre-marked points.
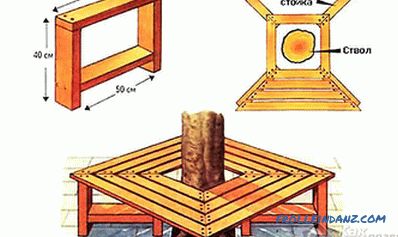 Scheme of a quadrangular bench
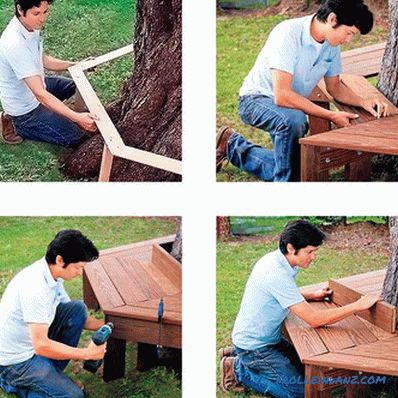
Next, you will need 4 boards for each section of the bench. If the thickness of the trunk is about 50 cm in diameter (155-160 cm in girth) and 15 cm away from the crown, the length of one plank of the inner square will be 100 cm. Make an oblique cut at a 45 ° angle.
Gently sawing all the boards of one section will be easier if you put them on a flat surface, setting the space between them with gaskets. Then, with the help of a ruler, outline the line of the slice, guided by the first, already finished, bar. After cutting along the intended line.
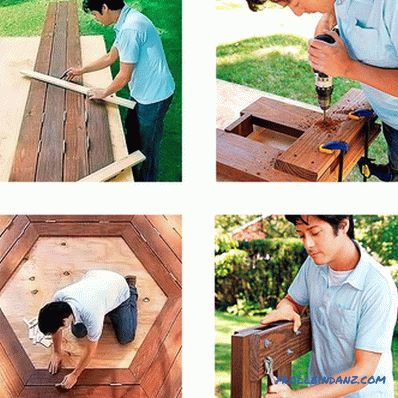 The manufacturing process
 Making the shop step by step
Fasten the short boards with bolts or screws to the supporting posts. Leaving a gap of 2 cm, attach the following strips, after cutting them at the same angle. They may slightly protrude from the support legs, thus covering the corners of the legs. The gap between the strips must leave! Otherwise, water will not be able to flow freely to the ground, due to which rot may appear at the joints. Thanks to the gaps, the bench will be easier to clean from sand and leaves. To align the gaps between the boards, you can use linings (small plates of two centimeters thickness, or something else).
The second bar should be 126.5 cm, the third bar should be 153.5 cm. The longest bar should be 180 cm. If the perimeter is the same, and the bar is set to five, then everything is just as simple: the first is 1 m, and each next one is longer by 20 cm. Only the slats must be thinner - 8 cm. Or 9 cm with a centimeter gap.
The dimensions of the planks and the number of planks can be changed proportionally, if desired. The design of the bench from this does not change much. But at the same time you need to calculate everything and monitor the accuracy of the cut, so that the product does not turn out to be curved and inconspicuous. After all, your goal is to create beauty yourself!
The final step in the construction of the bench is the finishing treatment of the product. If necessary, grind the roughness created by the installation. Then the bench can optionally be coated with paint or varnish.
Another solution
If you are not ready to spend too much time on the bench, and the previous version seems rather boring and primitive, you can simply modify its design.
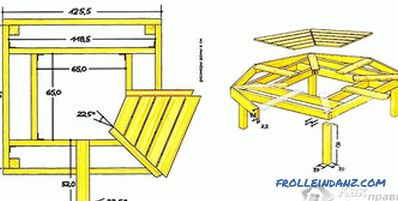 Sketch of the bench
To do this, simply install another support post in the middle of each section. The distance from the tree trunk to the edges of the base legs should be the same. A slat should be cut at an angle not 45, and 22.5 °. So, you get eight sections. The length of the shortest bracket will be 30 cm. And the longest - 67.5 cm (with a width of the seat - 50 cm, and a distance from the crown - 15 cm).
Hexagon bench with backrest
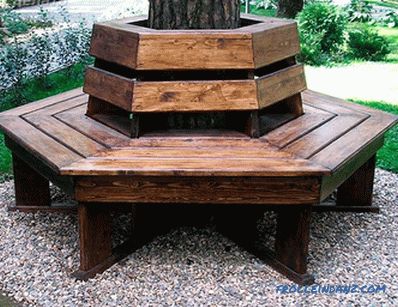 We manufacture a hexagon bench with backrest
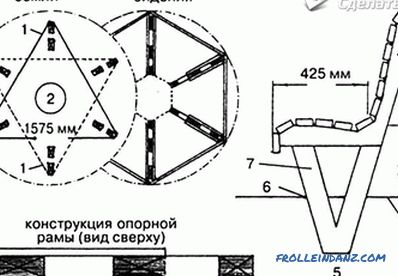
After the preparatory works on the site where the bench will be located, it is useful to designate six points around the tree. To simplify the task, as well as to make the markup more accurate, you can make a contour of a star shape (two intersecting equilateral triangles) out of paper, as shown in the diagram. At each sharp corner of this figure there will be an outer edge of the base leg.
 Marking
We plot support points on the ground. The predominant feature of this variant of the bench, though not the main one, is that the back is attached to it. It is very convenient and gives the product aesthetics.
For the construction, you will need the same tools as for the first option. But you will need a little more materials:
- boards of 6 * 3 cm of different lengths: about 36-38 m (if you plan to make an apron, then another + 6 m);
- bar 5 * 5 or 10 * 5: 13-14 m;
- self-tapping screws or bolts;
- paint or varnish.
We make the base legs for the bench. We take bars, 90 and 45 cm long, respectively, and 2 pieces of 40 cm each. We connect them with bolts or screws.
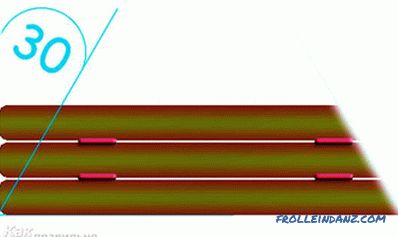 Cutting angle of the workpiece under the shop
Cut the boards at an angle of 30 °. Leave gaps between the slats of 0.8 cm or more. The shortest strips should be 40 cm each (with a trunk thickness of no more than 50 cm), and the longest 100 cm.We calculate the length of the remaining strips depending on their number. Attach them to the uprights.
We arrange the backrest by attaching the desired number of slats to it. It will be more convenient to sit down if you install the backrest under a slight slope of 15-40 °. Then the horizontal bars of the legs need to be cut at the same angle, and the lower plank of the back will be slightly longer than the top and must also be cut at a slight angle (depending on the back slope). Or you can attach them vertically. It all depends on your skill and imagination.
If you want to attach an apron, it will be easy. Six boards of the same length as the last plank of the bench should be cut from the front side at an angle of 30 °. Attach them to the legs of the base. Finish the job with finishing.
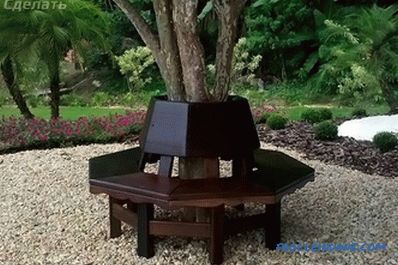
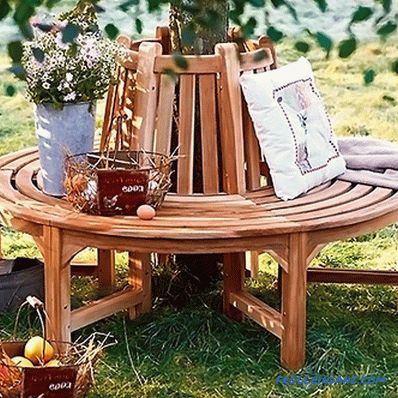 A beautiful bench around the tree
Having understood these schemes and understood the main nuances, you You will be able to improvise in every possible way, to make independently invented variation of a bench around a tree.
Maybe it will be interesting for you to read additional articles on the topic:
- How to make garden furniture by yourself?
- How to make benches for gardening?
- How to make a living gazebo with your own hands?
Video
If you don’t like the standard ideas of the benches around the tree, we offer you creative solutions:
Photos
The photographs provide several original ideas for making a bench around a tree:
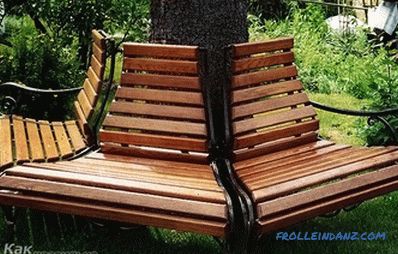 Section bench
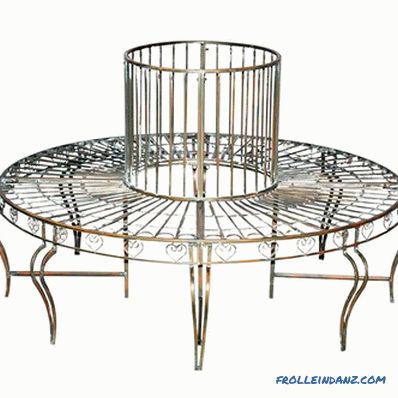 Forged bench
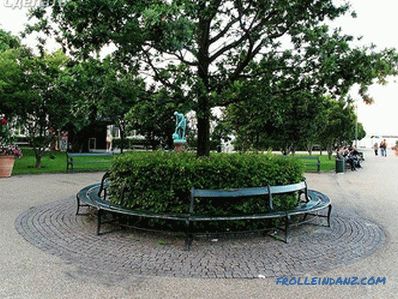 On the embankment
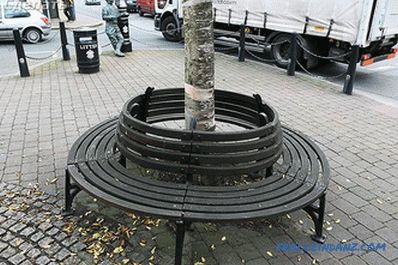 Outdoors
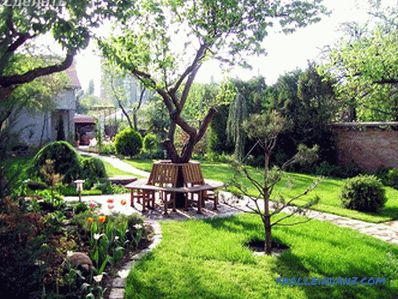 B landscape design
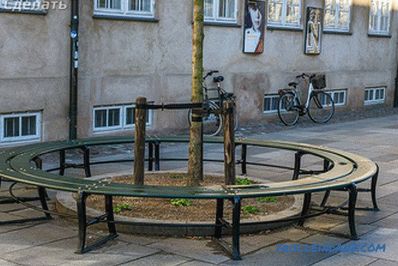 Yard bench
Scheme
If you want to make a bench around a tree, then below is a diagram that will help you with this:
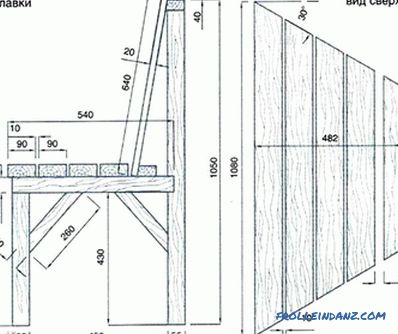 The scheme of a garden bench around a tree
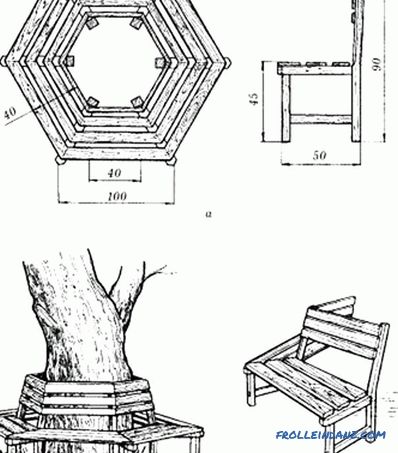 Seat sizes
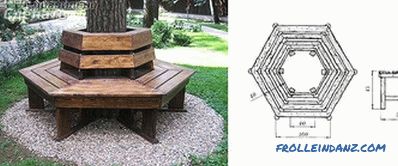 Scheme and photo of the bench
 Bench design
Schemes
