The main purpose of repairing an old house or building a new building is its modern, aesthetic interior and exterior. Many owners, choosing from finishing materials presented in the construction market, prefer a siding. What attracts the attention of not only professionals, but also ordinary consumers? Beautiful appearance of buildings and ease of installation of exterior cladding.
Installation of siding can be of high quality only after a thorough study of the technology of work and the implementation of all recommendations. No matter how high the quality of the finishing material is, if the installation technology is violated, the result will be poor.
Making the house warm and beautiful
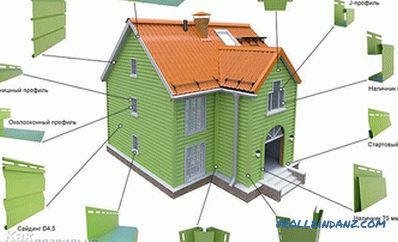 House siding scheme with
Except for quality siding, work requires good tools and additional building material for the base. First you need to decide whether the walls will be heated or not? The tool kit and materials depends on it.
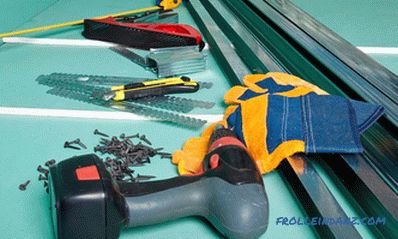
Prepare the following set:
- Smooth, dry planks made of wood for installation of the batten.
- Glass wool and whether polystyrene foam.
- Universal Hacksaw.
- Screwdriver and screws.
- Scissors for cutting metal.
- Stepladder and rope.
- Tape measure and pencil.
Install the batten
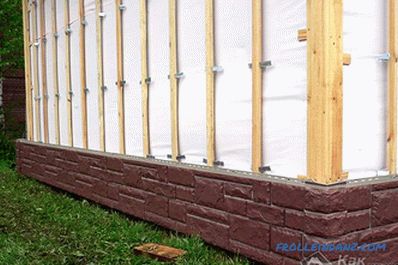 Batten
Sheathe the house with siding without first mounted crates impossible. Between the wall of the house and cladding material there must be an air space through which air will circulate. Insulation is laid between the slats, which significantly improves the quality of the exterior cladding of the house.
You can make a batten from a good beam with a section of 4 by 5 cm or a board with a size of 10 by 3 cm. Initially, select the installation option to determine how to install the batten.
Beat nails at a distance of no more than 40 cm. The corners of the building are upholstered in crate on both sides. Door and window openings also need to be upholstered around the perimeter. Begin to install the horizontal crate from the bottom of the building, and nail the last rail at the top.
To make the house even warmer, lay the insulation material. On the packages it is indicated how the material you purchased should be laid so that the effect is maximum.
We work with guides
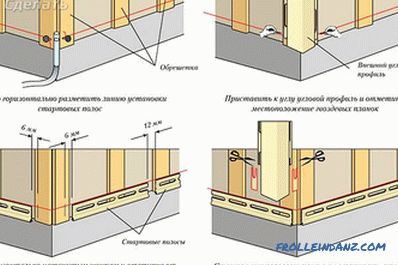 Horizontal trimming
Consider horizontal trimming. Attach the start strip to the bottom point of the mounted batten. When the length of the starting strips is insufficient and there is a need to extend it, the fastening of the next guide is done in 7-10 mm.
Proceed to fastening the profiles on the external and internal corners of the building. The lower edge of the installed profiles should cover the starting rail for at least 6 mm.
The shape of the corners will not be broken and the profiles will not fall down if the bar is hung on the nails through the top hole.
With galvanized screws, attach the bar to the bar. Try to leave a 2 mm gap between the battens of the batten and the cladding material. Such fastening will help to preserve the material elasticity, strength and resist sharp gusts of wind.
When you go up to the roof, leave space for soffit panels and fixing drains. When everything is assembled, measure and cut siding, and then proceed to the fastening of the panels.
Setting the blade
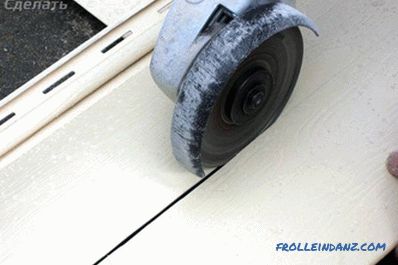 Cutting siding
You can cut the siding as a universal hacksaw or grinder and jigsaw. At high temperatures, the siding warms up quickly and begins to expand, so you cannot install the panels too tightly into the grooves of the corner profiles. When you cut off the necessary pieces of panels, immediately take away one centimeter.
Measurements need to be done after the installation of each strip and only then cut off the desired length of material. Bend the prepared part of the facing material slightly and gently slide it into the corner guides. From the bottom, the plank is connected to the starting profile, and you fasten its upper part with screws using a crate. Continue to work.
Each next row is connected at the bottom with the previous one and at the top is attached to the crate.
We will know the details of the installation
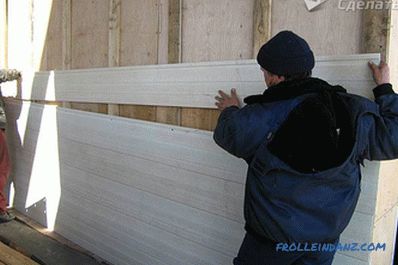 Installation
The panel cannot be too tight fasten and pull due to their surprising properties to taper at low temperature and expand when heated. Tight mounting of the panels should be coupled without any tension.
Control laying siding level. There can not be even a small deviation. In case of violation of this item, the upper bar will not be located on the line parallel to the mounting of the lower bar. To avoid deviations will help mark the corners. They just need to always keep in attention and focus on their location when attaching each strip.
Before starting the installation of the last plank, nail the finish rail to the batten of the batten. First of all, connect the previously measured and trimmed bar with the previously installed panel. Bend a little and put the top edge under the finish profile.
Joining planks along the length requires special attention. Often the length of the plank is simply not enough for the entire length of the wall. In this case, you need to use the H-profile. Ideal for a beautiful, neat, completely invisible connection. When such a profile is not at hand, just turn one bar after another at a distance of at least 2 cm.
Try not to do the docking of the bars close to the corner. Knowing the size of the house and the length of purchased siding panels, you can plan the location of the docking seam.
We work with openings
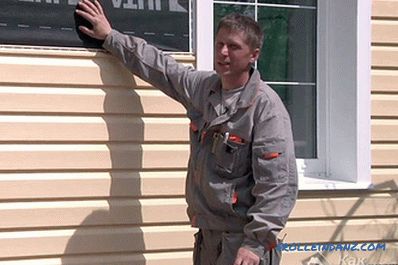 Window openings are more difficult to sheathe
Wall without openings it is easy to sheathe, but the presence of window and door openings slightly complicates the installation of the material. There are no uniform rules. In each case requires its own special approach.
When the windows of the house protrude beyond the wall line, you need a J-profile. It is installed around the perimeter of the opening. On the side bars at 45 degrees, corners are filed. The connection is overlapped. In this case, the water does not penetrate under the skin, and the joints look neat.
For windows that are recessed inside the wall, a special bar is needed, which will help to install the casing and bring the bar to the slope.
Particular attention should be paid to cutting out the lower and upper panels of the window opening. In the place where the plank fits the window, you need to make vertical cuts. Bend and cut off the excess part of the plank. Bring it over the set J-profile and nail it in the center.
Affordable and practical in use, siding today is produced in different color palettes. Material is not afraid of ultraviolet rays and moisture at all. It is easy to care for him and, if necessary, just make the replacement of damaged bands. These are just some of the beautiful characteristics of modern exterior cladding.
Do you have a desire to update the look of your house, or maybe you have already done it? Let's discuss all the questions in the comments to the article.
Video: step-by-step instructions on how to prepare the facade for siding installation
